Scan, Sign & AI Chat
Mobile App
The mobile app pairs with your account via QR code and brings scanner, signature, chat and documents to your phone.


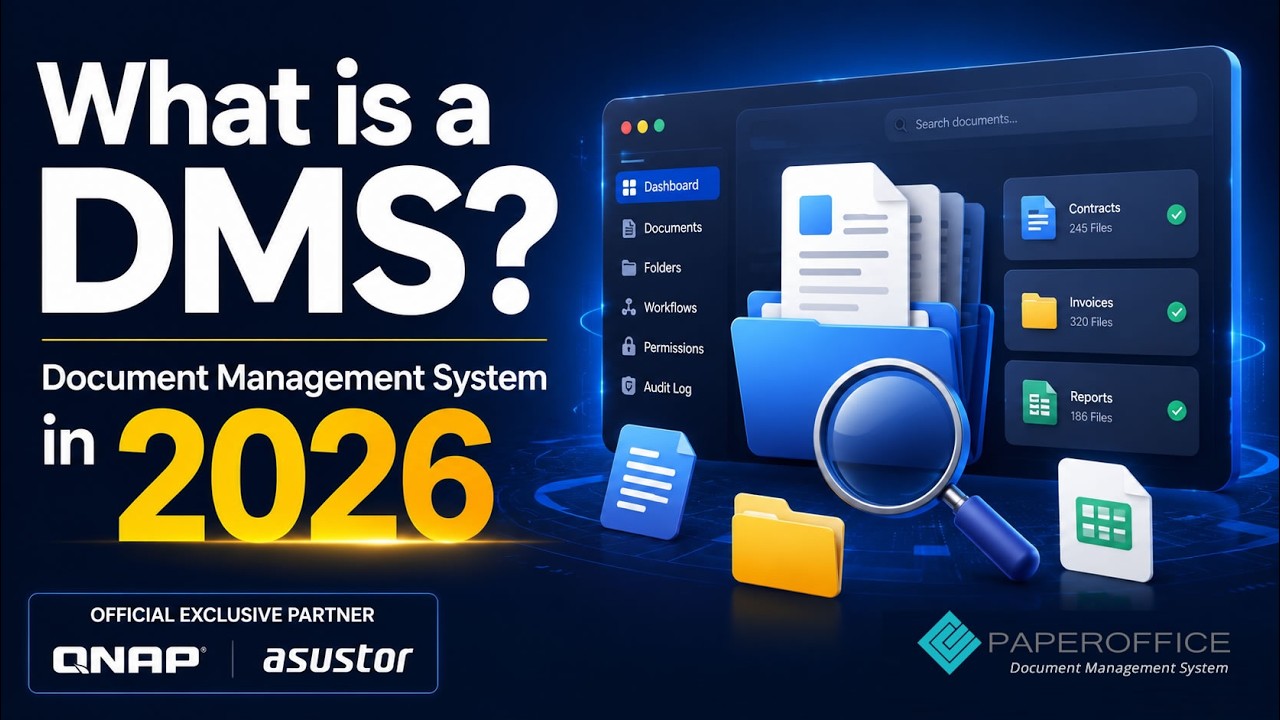
The complete first steps in one film: create a workspace, upload documents and see what the AI does with them. Then find documents again, ask the agent, share a workspace even by phone and connect PaperOffice with Claude.
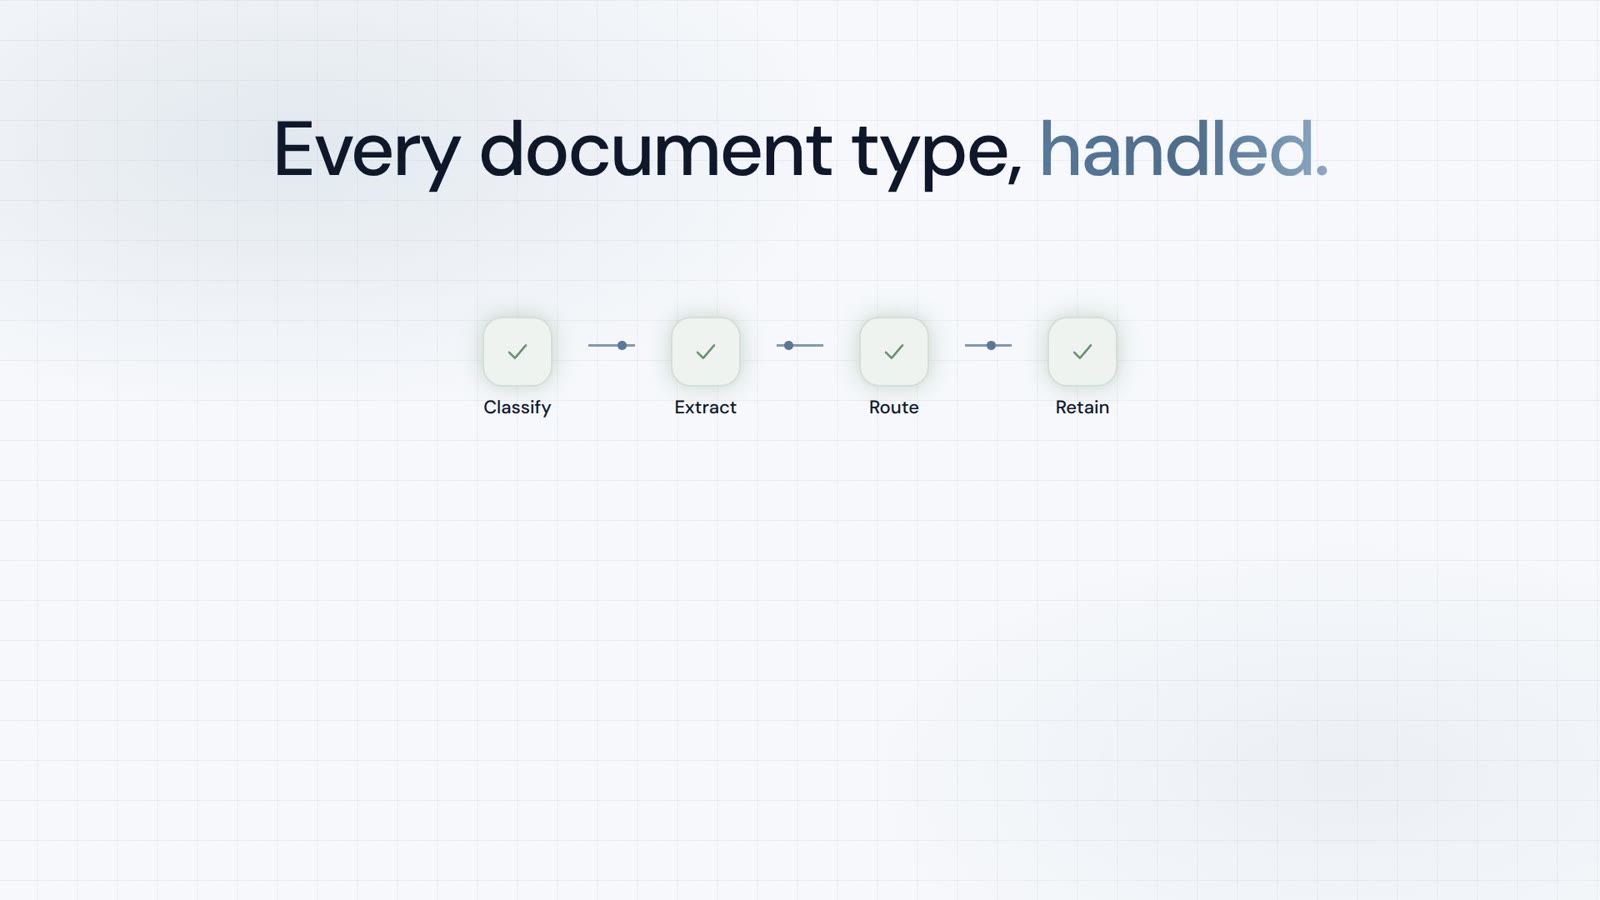
Hello and welcome to the PaperOffice AI Academy. Today we will cover the first steps: We will create a Workspace, upload documents, and examine what the AI does with them. After that, we locate documents again, ask the agent questions, share Workspace even by phone, and connect PaperOffice with Claude. All you need for this is a browser. Just to clarify in advance: PaperOffice AI is a document management system that understands your documents. It runs in the browser, as an app on your mobile phone, and via an interface. Your documents are stored in Workspaces, for example one per company, project, or client. And the AI reads each document: it identifies the type, assigns a descriptive name, keywords, and a summary. In addition, there is an agent to which you can ask questions about your documents, a search that finds content, external sharing capabilities, and the connection to Claude.
After logging in, you will land on your overview page: tasks, notifications, a few quick tools, and the path to Claude and ChatGPT. On the left, you can see all areas of the app. To begin with, you will primarily need Document AI: This is where your Workspaces and documents are located. At the top, you will find the agent and search functionality. Both are accessible from any page. And through your profile, you can access Help and Learning: for the introductory tour, the Problem Solver, and support. Your learning units are also displayed at the top.
Let’s get started. In the Workspaces overview, I click Create New Workspace. A Workspace is like a dedicated filing cabinet, for example for a company, a project, or a client. I name it Northstar Industrial and choose the type: Company. The processing language is set to English. The AI will use this language later for summaries, names, and fields. For the storage location, you choose between the PaperOffice EU Datacenter and your own storage, BYOS, short for Bring Your Own Storage. Your files then live on your own server or NAS, which you set up beforehand under Connectors. Important: the storage location can’t be changed after creation. In the Workspace type tab, it’s about protection and evidence. There are three tiers. Standard is the entry level: store and find. Business is for daily work: share, protect, restore. This is our recommendation, and only Business Workspaces can be shared externally. Compliance is the highest tier, for evidence and audit readiness, for example with strict retention requirements. Compliance costs extra, doesn’t support your own storage, and can’t be shared externally. Upgrading is possible at any time; downgrading is not. In the AI-DMS tab, you define how thoroughly the AI understands your documents. Storage only, without AI, is suitable for pure archiving. You can still process the files later. Basic makes your archive searchable: text recognition, classification, and keywords. Premium is the best default setting for business documents, featuring semantic search, business fields, and relationships. Ultra extracts the maximum: tables, forms, and images are read, documents are linked together, and every document gets a security check. For our demo, I use Ultra. Under Document type, I select Automatic recognition. The AI then assigns each document to the right type, such as invoice, delivery note, or contract. Under Access protection, you can secure a Workspace further with a password, an SMS code, or the four-eyes principle. For our demo, we’ll skip this. And under Sharing, you can later share the workspace externally: by email for access in the browser, or by phone. I’ll show you that in detail in a moment. I save, check the summary, and create the Workspace.
The new Workspace is still empty. I open it and click Add document. I select the files here: the documents of our demo company Northstar, including invoices, delivery notes, contracts and bank statements, as well as scans and mobile phone photos. The files are uploaded, and the AI begins reading immediately. With many documents, this takes a while, so I fast-forward. Uploading is just one option. Documents can also be imported from mobile devices, directly from scanners, via screenshots or websites, and entire folders can be processed at once using the bulk importer.
This is what the result looks like. The files have been assigned descriptive names, along with titles and brief summaries. Additionally, document types and keywords are displayed. All of this was generated by the AI. Now I ask the agent. For example: What happened in project X200 for Norvexa? The agent searches the Workspace, reads the relevant documents, and answers in full sentences: delivery, disruption, and acceptance in September. And it cites its sources, which I can open directly. The search finds not just file names, but content as well. I’m looking for: notice period. There it is: the amendment to the master service agreement with Norvexa. The term is not in the file name but in the content, and the search still finds it.
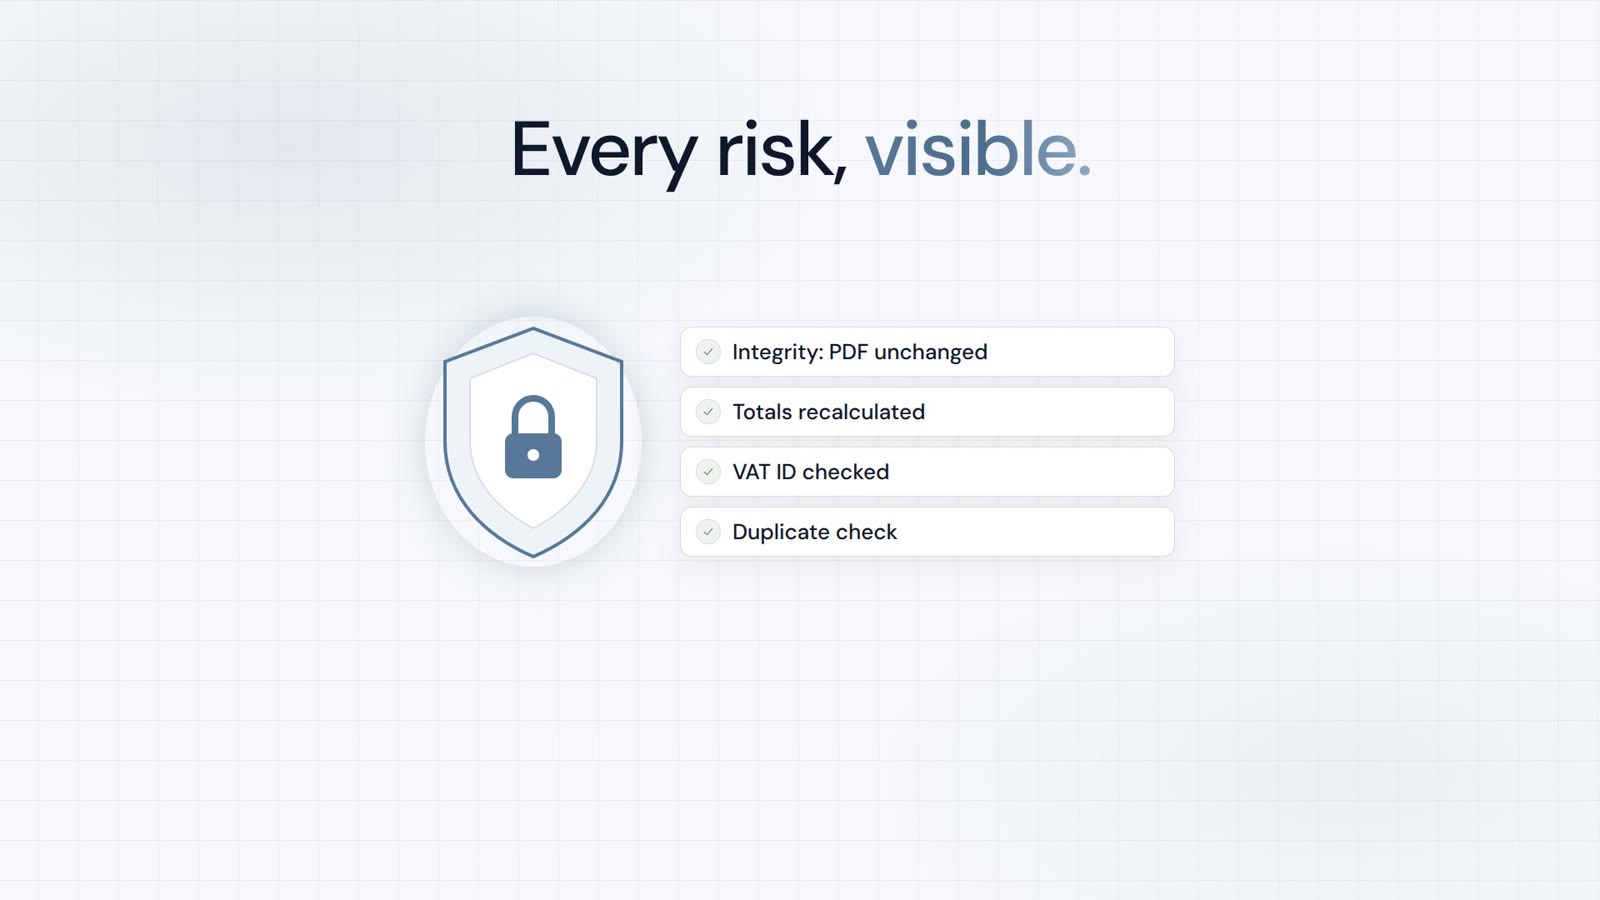
Let’s open a document: the credit note from Veldtmann for nine hundred fifty euros. On the left, you see the original; on the right, everything PaperOffice AI has made of it. The Cover Sheet shows the title and summary, a note that you can make the document revision-secure, and the Workspace it is in. Under Properties you will find status, name, document type and keywords. The data fields contain everything the AI has extracted, here the line item with quantity and price. With one click, you copy it to Excel. Under Activities, you can create notes and tasks for the document. The audit displays the security check from Ultra, with twelve controls, including those on calculation values and taxes. Everything is in order here. Revisions logs every change as soon as you make the document revision-secure. And Connections shows what the document is linked to, for example the business partner Veldtmann.
Now for my favorite part: sharing by phone. Imagine your tax advisor quickly needs some information from your records. They simply call and ask. No app and no login. To do this, create a phone agent under Conversation AI. I name it Northstar Phone Sharing and select the role: Protected agent. This means callers must verify themselves with their mobile number and PIN. Under Telephony, I activate the dial-in option. PaperOffice provides a dial-in number per country; I select Germany. Under Agent, you can set the language, voice, and greeting, and describe how the agent should behave. And under Knowledge, you decide which workspaces it may access. I only allow our Northstar workspace and save.
Now the share itself. In the workspace, under Edit, the Sharing tab, New external share. As the channel, I choose Phone. The agent is already selected. I enter my contact’s mobile number and a PIN; both are blurred in the video. Under Delivery, I add an email address in case the caller wants documents sent to them. Under Voice, you set language and voice. Under Agent, you can give the phone agent additional instructions for this share. The share is valid for thirty days. Save and activate the share. And that is what it sounds like. The caller dials the access number, enters their PIN, and asks their questions. Let’s listen in.
(The call itself is in the subtitles.)
The answers came straight from the documents in the workspace, with amounts, dates, and due dates, and the agent corrected the misheard name by itself. It only knows what is in this workspace.
Finally, a look ahead: PaperOffice AI can be connected to Claude. Under your profile, you’ll find Set up PaperOffice. This is where you connect the mobile app and Claude. In Claude, add PaperOffice under Settings > Connectors and connect your account once. Thereafter, Claude will work with your documents, always using only your permissions. For example, ask Claude which invoices from Veldtmann are in the workspace. Claude searches through PaperOffice and answers with invoice numbers, dates, and amounts. To sum up: create a workspace, upload documents, and the AI does the rest. It understands every document, the agent answers your questions, search finds content instead of just file names, and sharing works in the browser or by phone. The upcoming videos will cover security checks with quarantine, sharing via browser and phone, as well as finding and organizing files. Thank you for watching, and until next time in the PaperOffice AI Academy.
Choose language
Select currency
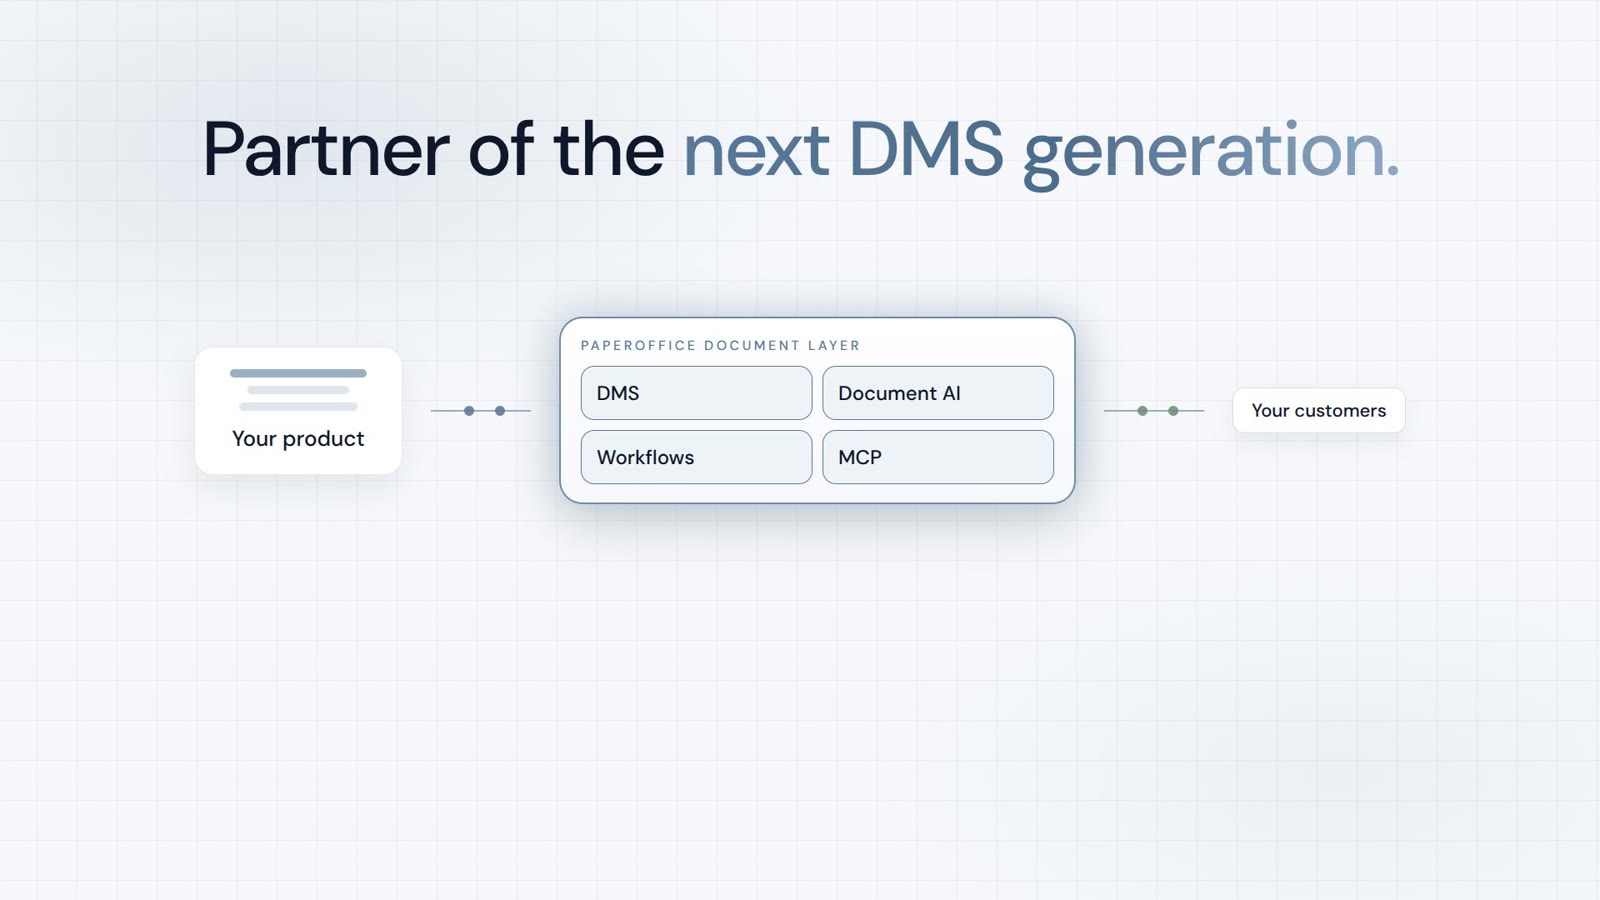
Integrator and Reseller can be combined. Referral by invitation.
View the partner program
AI-DMS
Documents. Intelligence. Real impact.
PaperOffice AI is the AI-DMS. Four functional areas on one DMS foundation, with three ways in.
Features, modules and benefits at a glance.
Capture, organize, search and collaborate on documents.
Plug into your systems and AI workflows.